Have you tried this crochet technique before or are you brand new to it? The Flip Flop Teddy Bear crochet pattern is a quick and easy project designed for beginners. It works up fast, making it a great choice for cuddly, handmade gifts.
Need extra help?
I’ve put together a series of video tutorials covering Amigurumi Tips, Tricks, and Techniques for Beginners to help you along the way!
Amigurumi Tip, Tricks and Techniques for Beginners
Why I Designed the Flip Flop Animals Series
Last year, my office was overflowing with crochet animals from all my designs. My kids picked their favourites, but I still had so many! Since I used to do craft markets before becoming a full-time designer, I decided to apply again and set up a booth.
The markets went really well! But I noticed something…
- Larger animals attracted attention (and some wonderful compliments ❤️).
- Smaller, budget-friendly items were the best sellers.
That got me thinking—most of my patterns were ideal for gift-makers, but not as practical for sellers.
So, I set out on a mission with two goals:
- Make amigurumi easier to learn with additional videos tutorials, tricks and tips.
- Create cute, quick-to-crochet animals that are perfect for both gifting and selling.
That’s how the Flip Flop Animal Series was born! I get so excited every time I finish a new design (yes, there’s some actual squealing involved 😆).
| If you love this easy crochet pattern? Then check out my other crochet flip flop designs! They’re all easy amigurumi patterns with helpful photo tutorials to make all sorts of adorable crochet animals to cuddle! |
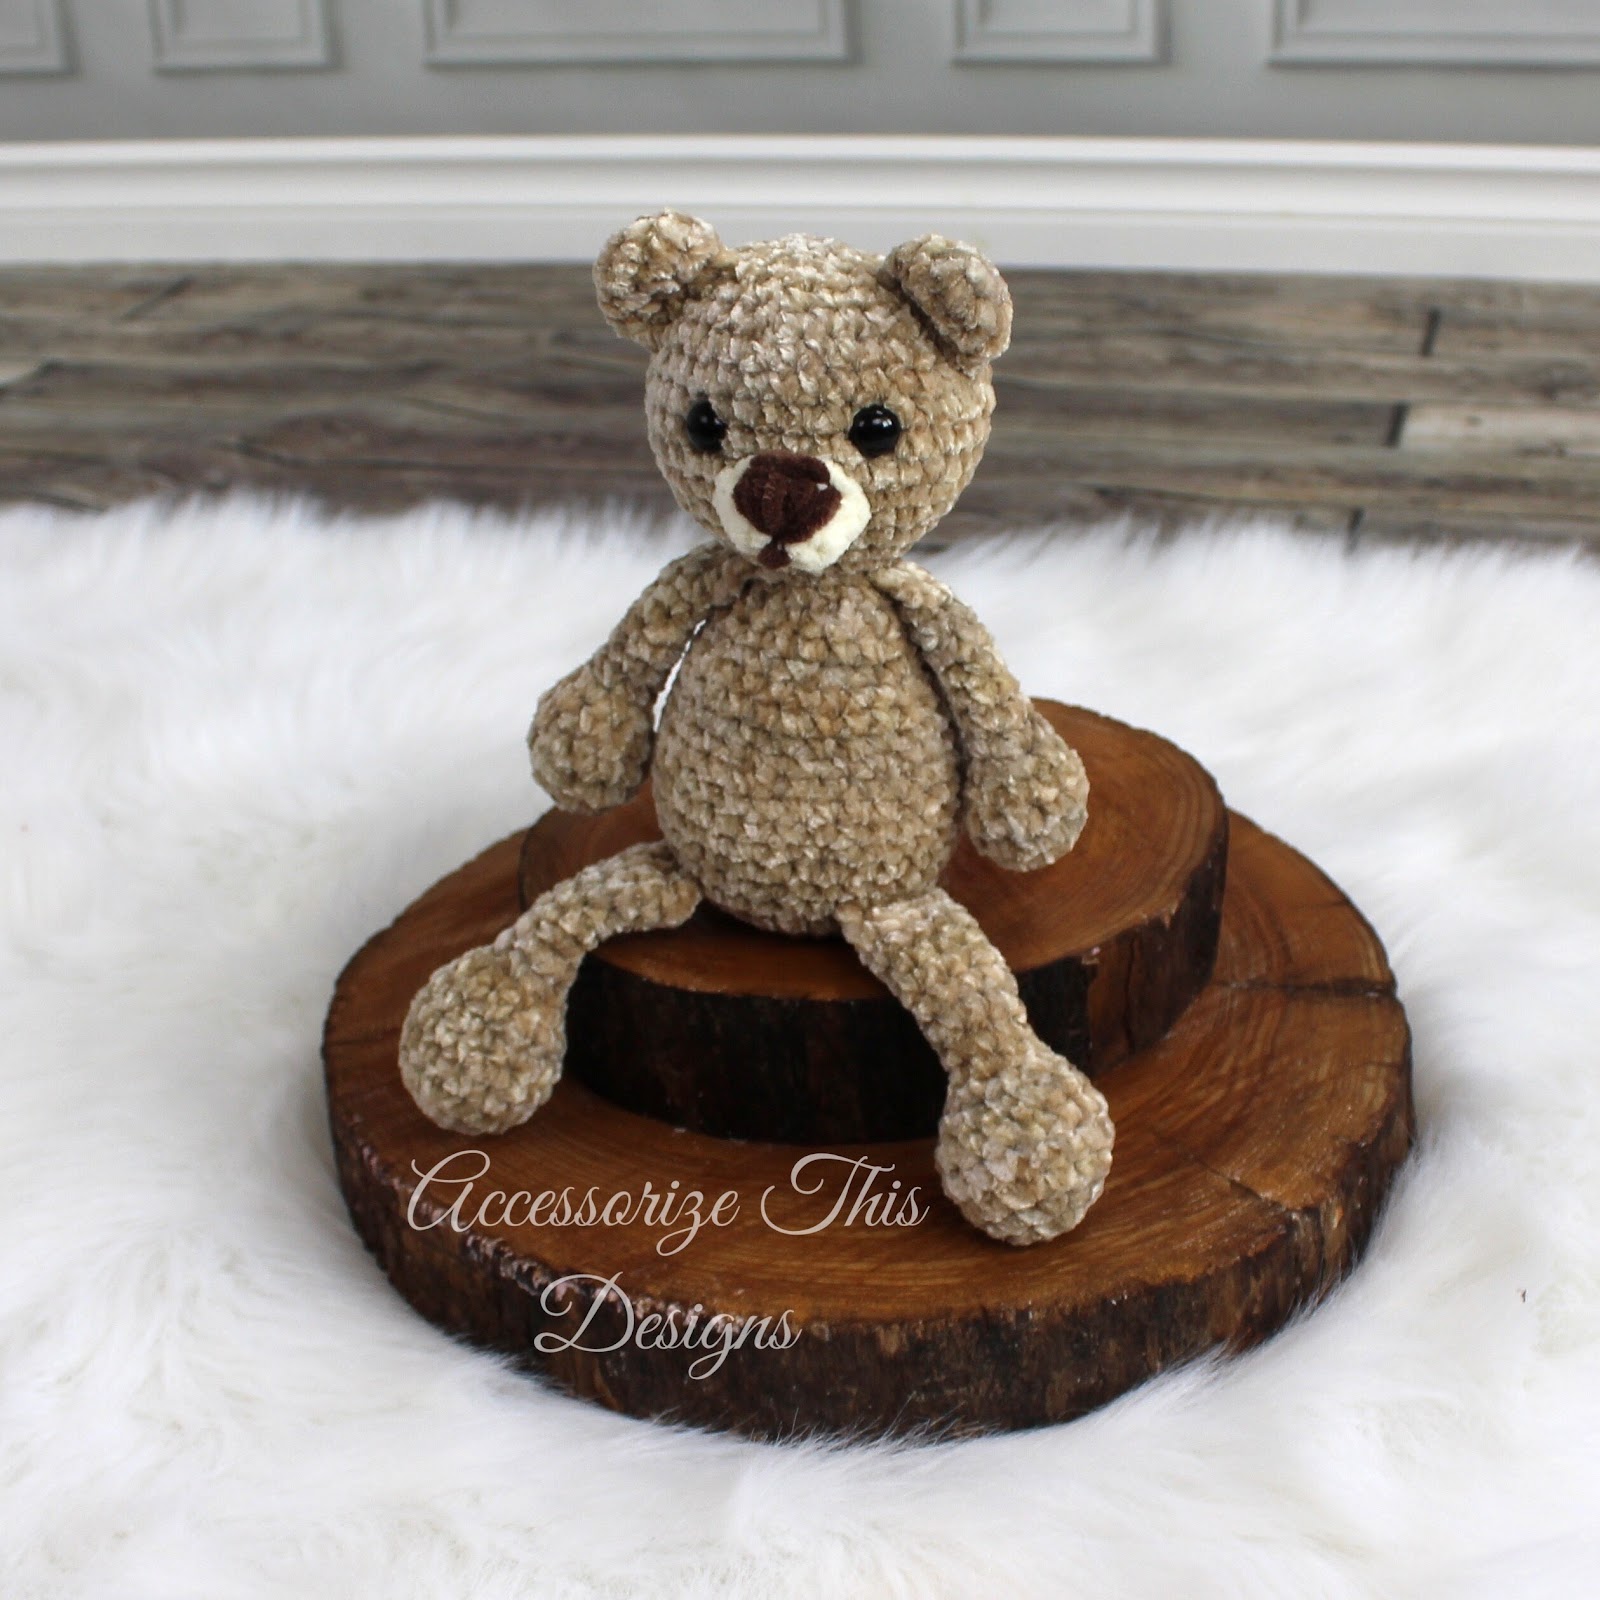
The First Flip Flop Stuffed Animal: A Classic Teddy Bear!
Teddy bears are timeless—soft, cuddly, and the perfect handmade gift. Chances are, we all had a favourite teddy growing up, and if you’re like me, you still do. 😉
For this pattern, I used Bernat Velvet and Bernat Crushed Velvet, plus a sample in Premier Parfait Chunky. The result? Soft, squishy, huggable perfection! But you can use any yarn you like—just be sure to adjust your hook size:
- Worsted weight (4) yarn: 4.0mm (G) hook
- Bulky (5) yarn: 5.5mm (I) hook
- Super bulky (6) yarn: 8.0-9.0mm (L or M/N) hook.
👉 Tip: The most important thing is keeping your stitches tight so the stuffing doesn’t show through!
Easy Amigurumi Assembly: No-Sew Limbs!
Sewing isn’t my favourite, so I created a no-sew option for the limbs to cut down assembly time. The pattern includes detailed instructions and video tutorials to show exactly how and where to attach them.
For the face, I worked with safety eyes for the first time (but don’t worry—I’ve included a link to my embroidered ‘sleepy eye’ tutorial if you’re gifting to little ones under 3). After adding a stitched nose, the only sewing you’ll need is for the muzzle, ears, and tail. That’s it! And just like that, a Flip Flop Teddy Bear is ready to snuggle. 🧸
The ‘Flip Flop’ Stuffed Animal Collection!
After finishing up this little guy, I became ‘hooked’ on the design and now have many more FREE ‘Flip Flop’ animal patterns for you try.
If you love this easy crochet pattern, check out my other Flip Flop designs! All of them are quick, beginner-friendly amigurumi patterns with helpful photo tutorials.
Crochet Teddy Bears: A Timeless Tradition Made Easy
Crochet has been around for centuries, and making toys has always been part of its history. The iconic teddy bear (named first for Theodore Roosevelt) is no exception! Loved for its soft, huggable shape, it has remained a favourite for generations.
As a crochet designer, I’m deeply inspired by this legacy and its connection to the craft of crocheting. That’s why I was excited to create my own free amigurumi pattern for a classic crochet teddy bear! I wanted to bring a modern twist to this long time tradition. With my free crochet patterns, I hope to offer crafters – from beginner to advanced – the opportunity to easily create their own cuddly keepsakes.
I designed this Flip Flop Teddy Bear crochet pattern to be easy to follow, especially for beginners. The pattern includes step-by-step instructions, photo tutorials, and a no-sew limb option to cut down on assembly time. If you love classic crochet toys with a modern, simple approach, this crochet teddy bear pattern is for you!

Why You’ll Love This Free Crochet Teddy Bear Pattern
Looking for a quick and easy amigurumi project that won’t take forever? Here’s why you’ll love the Flip Flop Teddy Bear Pattern!
- Fast & Simple – Works up quickly without complicated shaping.
- No-Sew Option – Attach the limbs as you go—no extra sewing needed!
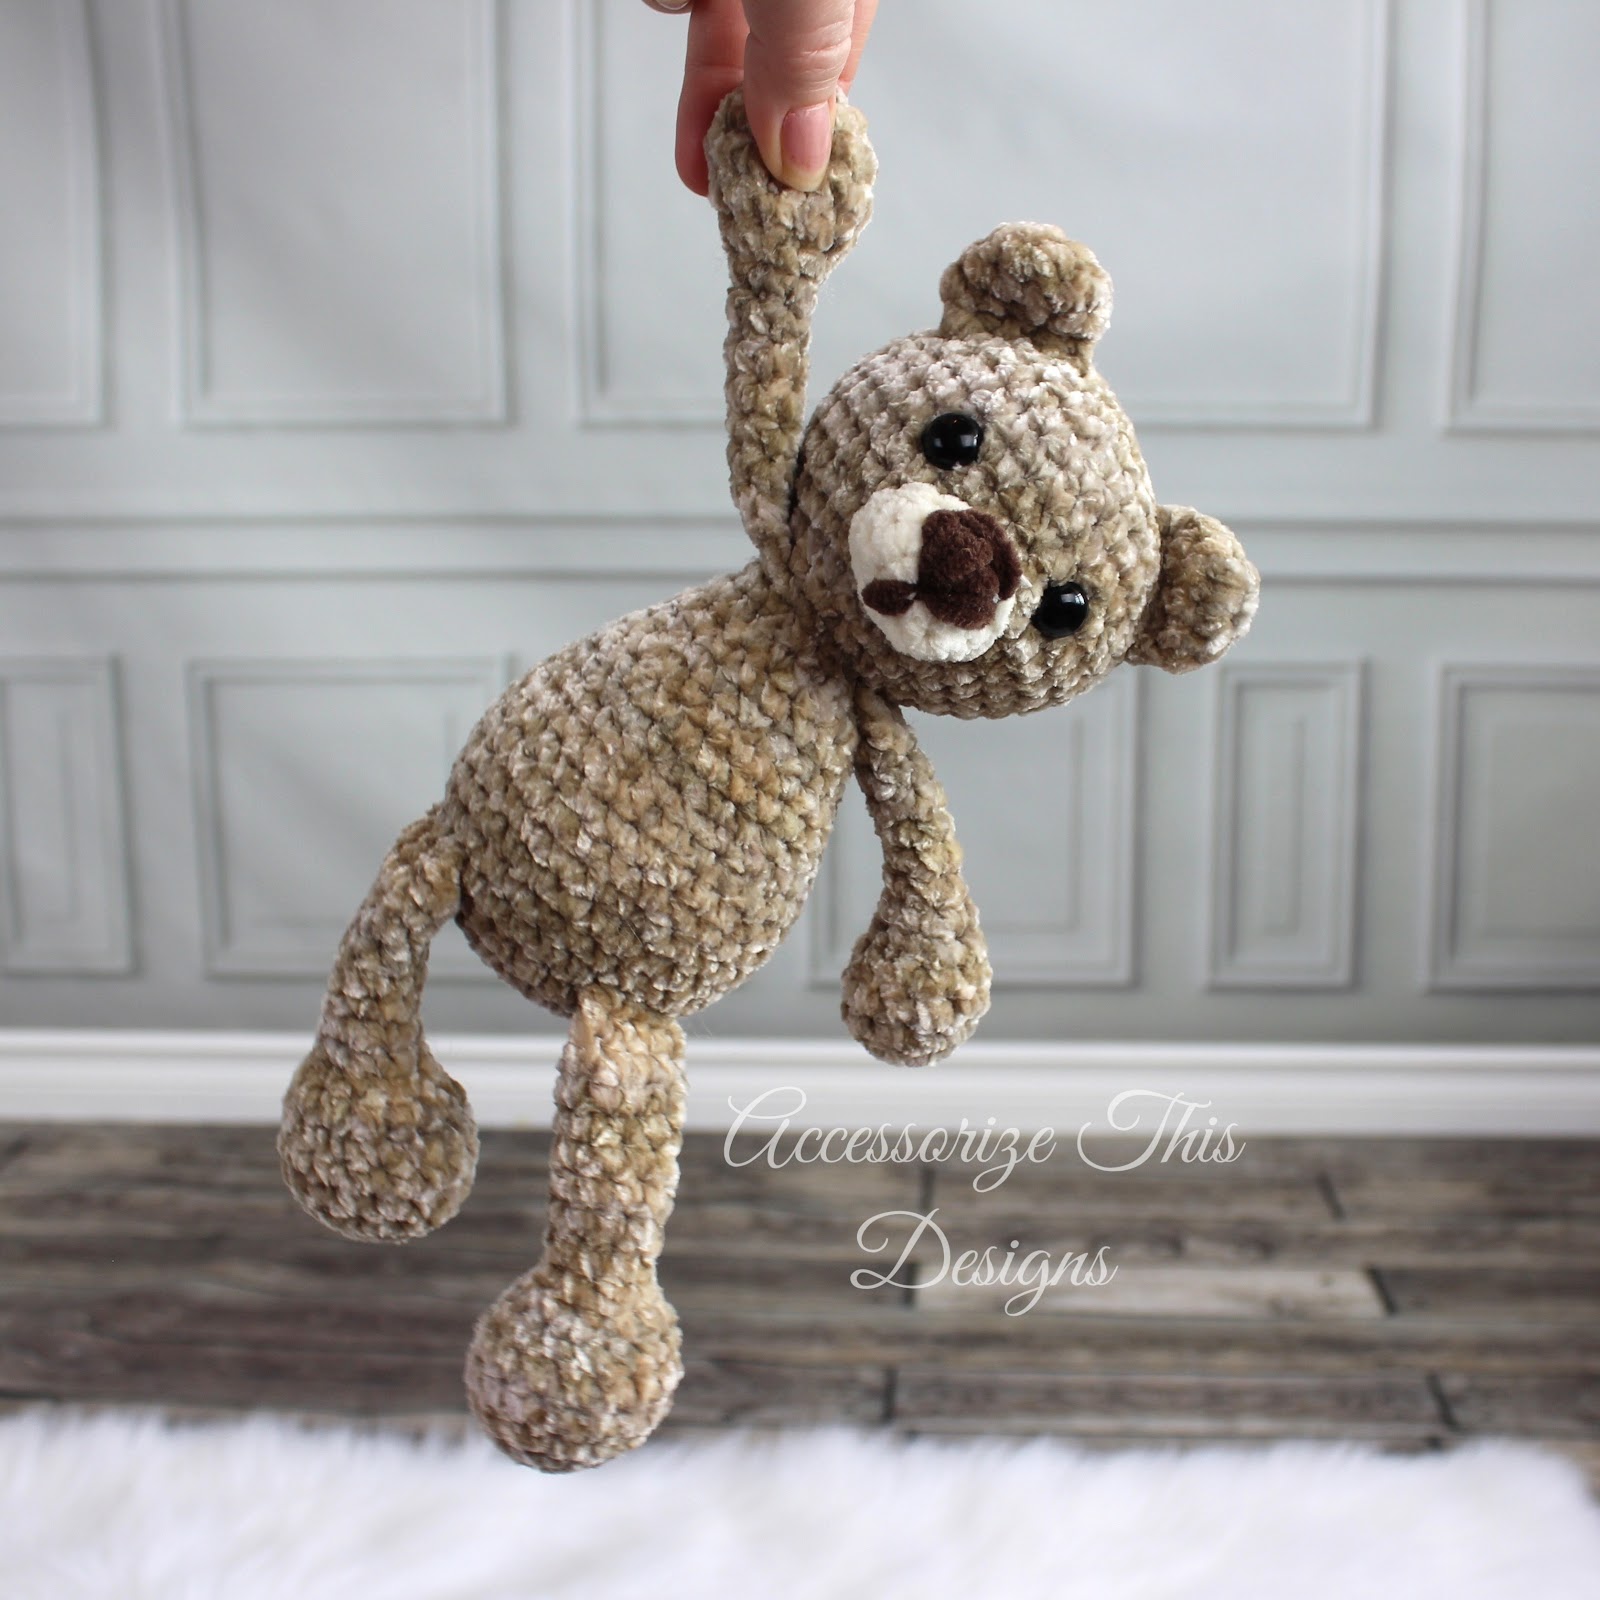
- Sits on Its Own – Flip flop limbs let your bear sit upright anywhere.
- Step-by-Step Help – Includes video tutorials to guide you through assembly.
- Safe for All Ages – Uses safety eyes, but you can embroider the eyes instead.
A perfect pattern for gifts, markets, and incredibly soft cuddles! 🧸
Cutomise This Free Teddy Bear Crochet Pattern
Make this teddy bear truly yours with different yarns, colours, and accessories!
- Change the Texture – Use fluffy yarn for extra cuddliness or bulky yarn for a larger bear.
- Play with Colours – Go classic brown, make a white polar bear, or try fun shades like blue or pink!
- Create Different Animals – A panda with black and white, a red panda with rust and cream, or any unique mix of yarn colours.
- Add Accessories – A tiny scarf, a crochet bow, or even a little hat can give your bear personality!
No two bears have to be the same—mix and match to create a whole family!
Want to stay up to date on all the Darling Maple Designs happenings? Then be sure to subscribe to my newsletter <3
Thank you so much for being here and crocheting with me <3. Please share your work by tagging me on FB or IG @darlingmapledesignss or use #DarlingMapleDesigns for a chance to have your work featured in my IG stories!
<3 Sara
Interested in more cute crochet patterns? Check these out!
What you will need for your Flip Flop Teddy Bear Crochet Pattern
Materials:
Hook size 5.5 mm (I)
Main Colour – 85 yards
(shown in Bernat Crushed Velvet Cream or Premier Parfait Chunky Teddy Bear)
Accent Colours –
Premier Parfait Chunky (Cream) – small amount
Premier Parfait Chunky (Teddy Bear) – small amount
- Polyester filling – small amount
- 2 – 12mm Black safety eyes (not suitable for children under 3): see video for embroidering sleepy eye as an alternative.
- Stitch Markers or Safety pins to help with sewing placement
- Yarn needle to weave in the ends
Gauge:
4 Rounds of Gauge Pattern = 2.0 inch diameter
Gauge Pattern:
Create a Magic Ring
Round 1: 6sc in the ring (6)
Round 2: 2sc in each st (12)
Round 3: *sc, 2sc* 6 times (18)
Round 4: *sc in the next 2 sts, 2sc* 6 times (24)
Abbreviations:
| ch | chain |
| sc | single crochet |
| scdec | single crochet decrease |
| ss | slip stitch |
| st(s) | stitch(es) |
| *to* | repeat the sequence between the ** the number of times indicated |
| YO | Yarn Over |
Special Stitches & Techniques:
Magic ring
No Sew Method Attaching Legs
No Sew Method Attaching Arms
Embroider Nose
Sleepy Eyes
Notes:
- #sc, eg. (2sc, 3sc, etc) shows the number of scs to be completed in the indicated st
- Sts listed between brackets are all worked in the same st, eg. (hdc, dc)
- I highly recommend using a stitch marker to help keep track of the rounds for the body/head
- The pattern has both a ‘sew’ and no sew option for the limbs shown in the Body/Head section.
Recommended Sequence:
It is highly recommended to complete the Flip Flop patterns in the order they are written (especially if you are using the no-sew option for the limbs).
Start your Flip Flop Teddy Bear Crochet Pattern
Arms (make 2):
The arms are worked from the “paw” to the body, in continuous rounds.
Using Main Colour, create a Magic Ring
Round 1: 6sc in the ring (6)
Round 2: *2sc* 6 times (12)
Round 3-4: sc in each st (12)
Round 5: *sc in the next 2 sts, scdec* 3 times (9)
Round 6: *sc, scdec* 3 times (6)
Stuff only the ‘paw’ portion of the arm, the rest will be left unstuffed
Rounds 7-12: sc in each st (6)
Flatten and sc through both sides (3sts).
End off leaving a 12 inch tail if sewing.
Legs (make 2):
The legs are worked from the “paw” to the body, in continuous rounds.
Using Main Colour, create a Magic Ring
Round 1: 6sc in the ring (6)
Round 2: *2sc* 6 times (12)
Round 3: *sc in the next 3 sts, 2sc* 3 times (15)
Rounds 4-6: sc in each st (15)
Round 7: *sc in the next 3 sts, scdec* 3 times (12)
Round 8: *sc in the next st, scdec* 4 times (8)
Stuff only the ‘paw’ portion of the leg, the rest will be left unstuffed
Rounds 9-16: sc in each st (8)
Flatten and sc through both sides (4 sts).
End off, leaving a 12 inch tail if sewing.
Body/Head:
The body and head are worked in one piece from the bottom up in continuous rounds.
Option 1: Sewing the Legs and Arms to the body
If you are sewing your legs and arms onto your body then ‘sc in each st’ for Round 6 and Round 21.
Option 2: Crochet Legs and Arms to the body
If you are crocheting your legs and arms onto your body please follow the pattern as written for the Body/Head.For assistance in crocheting the limbs on see Videos:
Attaching Legs
Attaching Arms
Using Main Colour, create a Magic Ring
Round 1: 6sc in the ring (6)
Round 2: *2sc* 6 times (12)
Round 3: *sc in the next st, 2sc* 6 times (18)
Round 4: *sc in the next 2 sts, 2sc* 6 times (24)
Round 5: *sc in the next 3 sts, 2sc* 6 times (30)
Round 6 Option 1: sc in each st (30)
Option 2: Hold your first leg in front of your work (body). Working through both pieces, sc in the next 4 sts, working through the body only, sc in the next 5 sts, Hold the second leg in front of your work (body). Working through both pieces, sc in the next 4 sts, working through the body only, sc in the last 17 sts (30)

Rounds 7-12: sc in each st (30)
Round 13: *sc in the next 3 sts, scdec* 6 times (24)
Rounds 14-16: sc in each st (24)
Note: You may want to begin stuffing
Round 17: *sc in the next 2 sts, scdec* 6 times (18)
Round 18-19: sc in each st (18)
Round 20: *sc in the next st, scdec* 6 times (12)
If using Option 1 (Sewing on the Arms) – continue to Round 21 Option 1.
If using Option 2 (Crocheting on the Arms), end off, weave in end, continue to Round 21 Option 2.
Round 21 Option 1: sc in each st (12)
Option2: Place the animal down on a hard surface with the body face ‘up’ and the legs facing you. Locate the 3 centre front sts and mark them with a stitch marker (the arms will be placed on either side of these sts). Locate the far right marked st. Count over 3 sts to the right of it and attach your yarn to the body. (If left handed you will locate the left st and count over 3 sts to the left).
Place the first arm in front of the body to the right of the marked sts (left if you’re left handed). Working through both pieces (beginning with the first st of the arm and the stitch on the body you attached your yarn to), sc in the next 3 sts.
Working through the body only, sc in the next 3 sts (these are your marked sts). Place the second arm in front of your work (body). Working through both pieces, sc in the next 3 sts, working through the body only, sc in the last 3 sts (12).


Round 22: *sc in the next st, 2sc* 6 times (18)
Round 23: *sc in the next 2 sts, 2sc* 6 times (24)
Round 24: *sc in the next 3 sts, 2sc* 6 times (30)
Round 25: *sc in the next 4 sts, 2sc* 6 times (36)
Rounds 26-31: sc in each st (36)
Add safety eyes to Round 28 approximately 4-5 sts apart, continue stuffing.
Round 32: *sc in the next 4 sts, scdec* 6 times (30)
Round 33: *sc in the next 3 sts, scdec* 6 times (24)
Round 34: *sc in the next 2 sts, scdec* 6 times (18)
Finish stuffing
Round 35: *sc, scdec* 6 times (12)
Round 36: *scdec* 6 times (6)
End off leaving a 6 inch tail, cinch the last 6 sts together and weave in the end.
Muzzle:
Made in continuous rounds.
Using Muzzle Colour (shown in cream), create a Magic Ring
Round 1: 6sc in the ring (6)
Round 2: *2sc* 6 times (12)
Round 3: sc in each st (12)
End off leaving a 12 inch tail for sewing.
Ears: (make 2)
Made in continuous rounds beginning at the tip of the ear.
Using Main Colour, create a Magic Ring
Round 1: 6sc in the ring (6)
Round 2: *2sc* 6 times (12)
Round 3: sc in each st (12)
Round 4: *sc, scdec* 4 times (8)
Do not stuff, ss in the next st, flatten and sc through both sides (4sts).
End off leaving a 12 inch tail for sewing to the head.
Tail:
Made in continuous rounds beginning at the tip of the tail.
Using Main Colour, create a Magic Ring
Round 1: 6sc in the ring (6)
Round 2: *sc, 2sc* 3 times (9)
Round 3: sc in each st (9)
Do not stuff, ss in the next st, flatten and sc through both sides (4-5sts). End off leaving a 6 inch tail for sewing.
How to assemble your Flip Flop Teddy Bear Crochet Pattern
Sewing Placement – I highly recommend pinning ALL parts in place BEFORE sewing to make sure everything sits properly and is to your liking 🙂
| Note: Disregard sewing the legs and arms if you’ve already crocheted them on. Legs: Place the legs at approx Round 5 of the body about 4 sts apart. Sew in place. When sewing the legs in place I sewed the top of the last FULL ROUND DOWN instead of just the sts from crocheting the round together. |
| Arms: Place the arms at approx Round 21 of the body, approx 3 sts apart. Sew in place. When sewing the arm in place I sewed the top of the last FULL ROUND DOWN instead of just the sts from crocheting the round together. |
| Nose: Follow video for embroidering the nose. Feel free to embroider before or after sewing the muzzle in place. Video |
| Muzzle: Centre the muzzle on the body placing it between Rounds 24 and 27 on the head. Stuff lightly and sew down along Round 3 of the muzzle |
| Ears: Place the ears running vertically between Round 30 and 33 (approx 2 rounds/sts towards the face). Sew in place. |
| Tail: Centred on the back of the body. Place vertically between Rounds 6 and 9 of the body. Sew in place. |
Congratulations!
You have now completed your Flip Flop Teddy Bear Crochet Pattern!
I really hope that this is the perfect free teddy bear crochet pattern for you! This cute teddy bear pattern is really all you need to create a cuddly friend for your little one, that’s full of personality. And if you’re a beginner dipping your toes into amigurumi for the first time, this fluffy friend is here to welcome you with open arms (or should I say, paws!).
Remember, the real magic lies in the customisation. Experiment with different yarns, colours, and accessories to make your bear truly unique.
If you loved this classic crochet teddy bear pattern? Then check out my other crochet bear designs! They’re all easy amigurumi patterns with helpful photo tutorials to make all sorts of adorable crochet bears!
We love seeing your finished projects. Tag us in your photos and posts using #DarlingMapleDesigns or @darlingmapledesigns.
Thank you so much for joining us! I hope you loved completing your Flip Flop Teddy Bear Crochet Pattern as much as I enjoyed designing it. Don’t want to miss a stitch? Subscribe to the Darling Maple Designs newsletter and I’ll send updates for new pattern releases, sales and promotions straight to your inbox. See you again soon! Sara <3
If you have any questions or concerns with this, or any other pattern written by Darling Maple Designs, please do not hesitate to contact me at: info@darlingmapledesigns.com.
Don’t forget to Pin it to your project board.


Such a cute teddy bear! (and even cuter in person 😉 Loving the new patterns!